Speech to text on macOS with OpenAI's Whisper, simple installation with Homebrew
Free services
Integrate maps to your sites Editable QR Code after printing Customizable short link Password generator Create images for social networks Create harmonious color palettes Unminify your code Create .gitignore files with ease Restaurant reservation system Booking software for hairdressersSummary
Hello there 😁,
This week, we're not going to write a long article, we're going to do something simple and useful...
I hope you'll enjoy it anyway! 🙂
The idea is to talk about OpenAI's Whisper, this "AI" allows you to transcribe an audio file to text, and it's totally possible to make it work on your local machine, without an internet connection.
Are you ready? Let's go!
WhatsApp voice messages, convenient for those who send them...
So, first of all, here's the main reason for this article...
In my world, I communicate a lot in writing with many people, I've always loved written communication, proof of that is you're reading my blog.
But sometimes, I receive WhatsApp voice messages and I hate it.
A written message can be skimmed to retrieve the information you need, you don't have to wait for the entire voice message to play out.
Moreover, in our world of LLMs ("Large Language Models"), you can easily put a large message into the LLM to ask it to extract key information.
Bonus: how to download a voice message on WhatsApp?
While writing these lines, I realize that some of you may not know that you can download a voice message on WhatsApp.
On phone (iOS in my case), I haven't looked for how to do it, I must admit I don't need it...
However, on computer, it can be handy to retrieve the file.
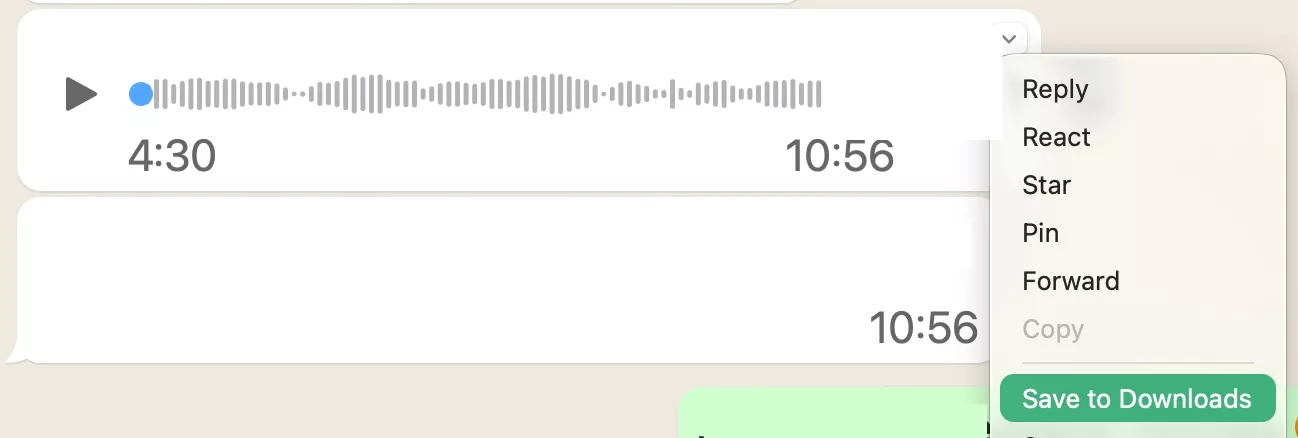
With WhatsApp Desktop, click on the small arrow above your contact's photo on a message, then -> "Save to Downloads"
This will give you the .opus file of the voice message.
Homebrew, the package manager for macOS
So, Homebrew is not something officially supported by Apple, it's the devs who set it up (yes, we're awesome 😝)
To work, Homebrew needs Xcode commands, Apple's IDE. You can complicate things by installing only the CMD tools, but while you're at it, since you're probably a dev (or a related profession), install Xcode directly.
Once Xcode is installed, install Homebrew with the following command:
And there you go, after asking for your root password and waiting a bit, you should have Homebrew on your system.
Installing Whisper with Homebrew
Now that you have Homebrew, simply install Whisper with the following command:
Here, it will take a bit of time, because there are many dependencies for Whisper (Python and all that).
But once installed, you'll be "ready to go".
Transform an audio file into text with the Whisper command
The easiest part...
Just run a Whisper command, then provide the file path, then specify what language the file is in.
And off we go!
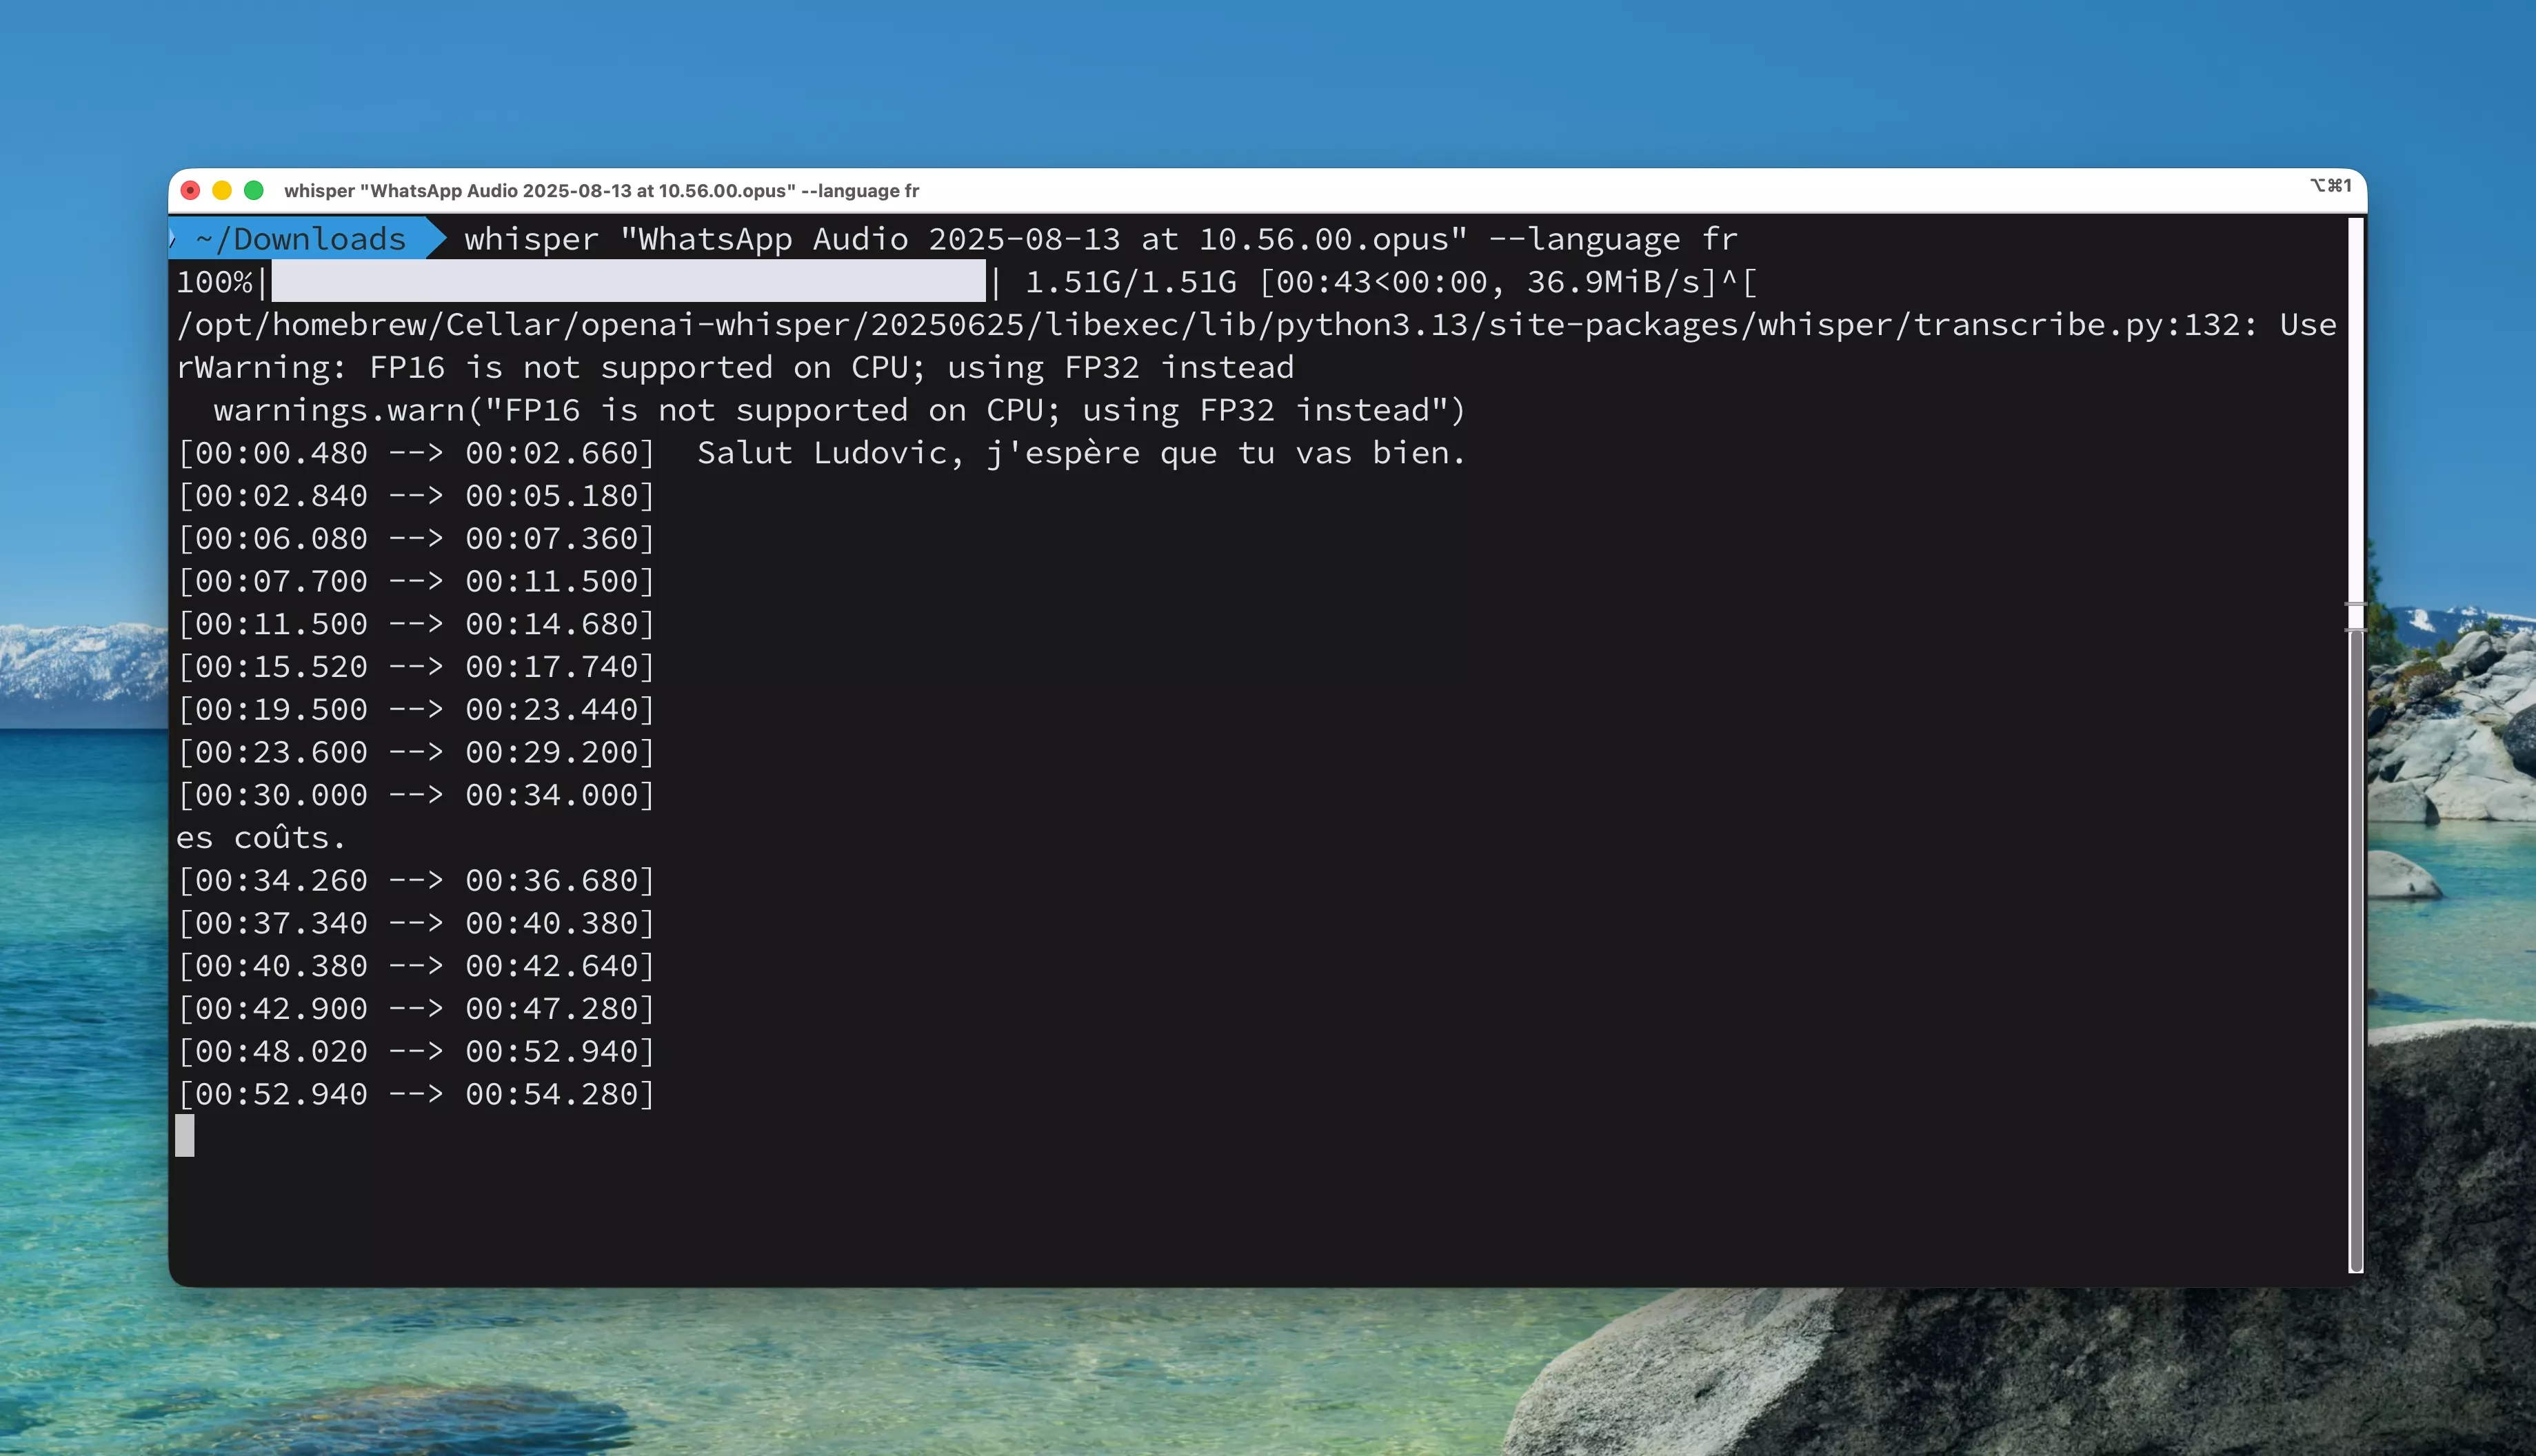
As you can see, during transcription, you'll see the text appear in the terminal.
Watch out for CPU resources
Well, yes... the process is heavy for your machine. In my case, I ran it on my MacBook Pro M3 Pro, and I was at 60% CPU usage.

Once the processing is complete, you'll have your transcribed files in several formats ready to be used in the same folder as your audio file.
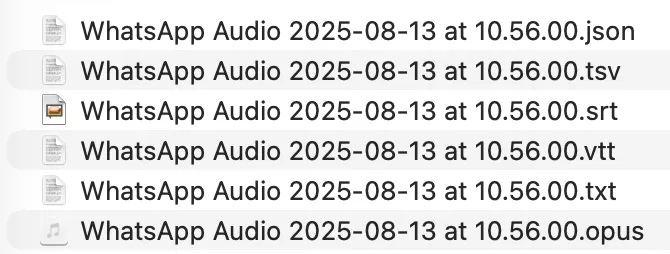
Special mention for the .srt file, handy for adding subtitles to a video.
Conclusion
And there you have it, this short article is coming to an end.
The idea was to do something lightweight but useful.
Have a great day and see you next time.