Capture your screen in GIF format, on Windows and macOS
Free services
Integrate maps to your sites Editable QR Code after printing Customizable short link Password generator Create images for social networks Create harmonious color palettes Unminify your code Create .gitignore files with ease Restaurant reservation system Booking software for hairdressersSummary
Hello, hello?,
The last article was about PowerToys and how they improve productivity in Windows.
To make this article more fun, I thought it might be a good idea to capture my screen and give it to you as a GIF...
So, in this week's article, we're going to look at how to capture your screen in GIF format, on Windows and macOS.
Yes, we're doing an "articleCeption" here, having as much fun as we can?
Are you ready? Let's get started!
Capturing your screen in GIF format, on Windows
On Windows, I used the ScreenToGif tool, which I really liked because it's so easy to use.
Where can I download ScreenToGif?
To download ScreenToGif for Windows, go to the official website. ScreenToGif is free and open source, making it a great option for creating animated GIFs from screenshots on Windows.
How does it work?
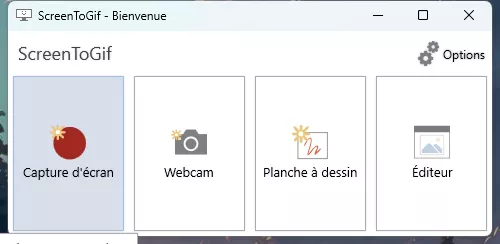
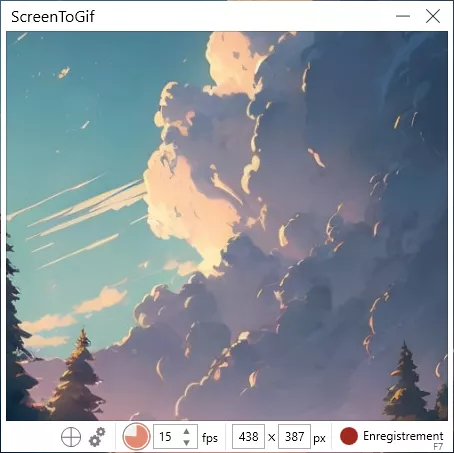
Open the application and select the "Recorder" option to start screen capture. You can define the capture area by moving and resizing the window. Click on the "Record" button to start recording, and then on "Stop" once you've finished.
You can then edit and save your GIF using the built-in editor...
The built-in editor
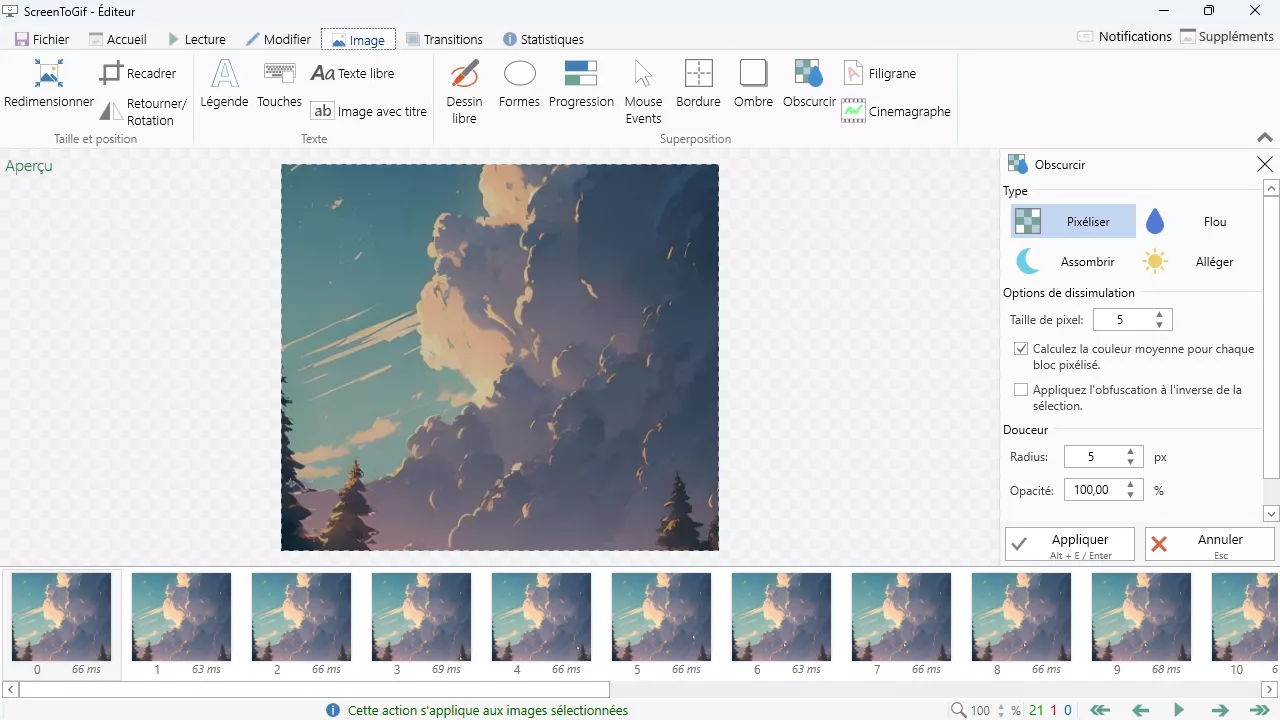
ScreenToGif's built-in editor is a major asset of the application. Once you've finished saving your screenshot, the editor opens automatically, allowing you to make changes to your GIF. You can remove unnecessary frames, add or modify text, insert watermarks and even apply filters (darken, blur, lighten...).
The editor lets you edit your GIF in the smallest detail, before exporting.
What I like about ScreenToGif
Actually, I've used this one a lot, and there's one thing I really liked.
It's this interface:
Yes, it's the integrated editor I was telling you about earlier, it's really nice and I spent a lot of time on it.
It's also worth noting, as you'll have seen on the home screen, that ScreenToGif lets you use your webcam to capture an image, which comes in handy?
Capturing your screen in GIF format, on macOS
On macOS, I didn't go to the trouble of using Giphy's tool (which I'm sure you're familiar with), "Giphy Capture".
Where to download Giphy Capture?
Unlike the Windows application, on the Mac you'll need to get the application from the Mac App Store: you can access it by opening the "App Store" application on your Mac and searching for "Giphy Capture" in the search bar. Once you've found the application, simply click on the "Download" or "Install" button to begin the installation process.
For those of you in a hurry, click here.
How does it work?
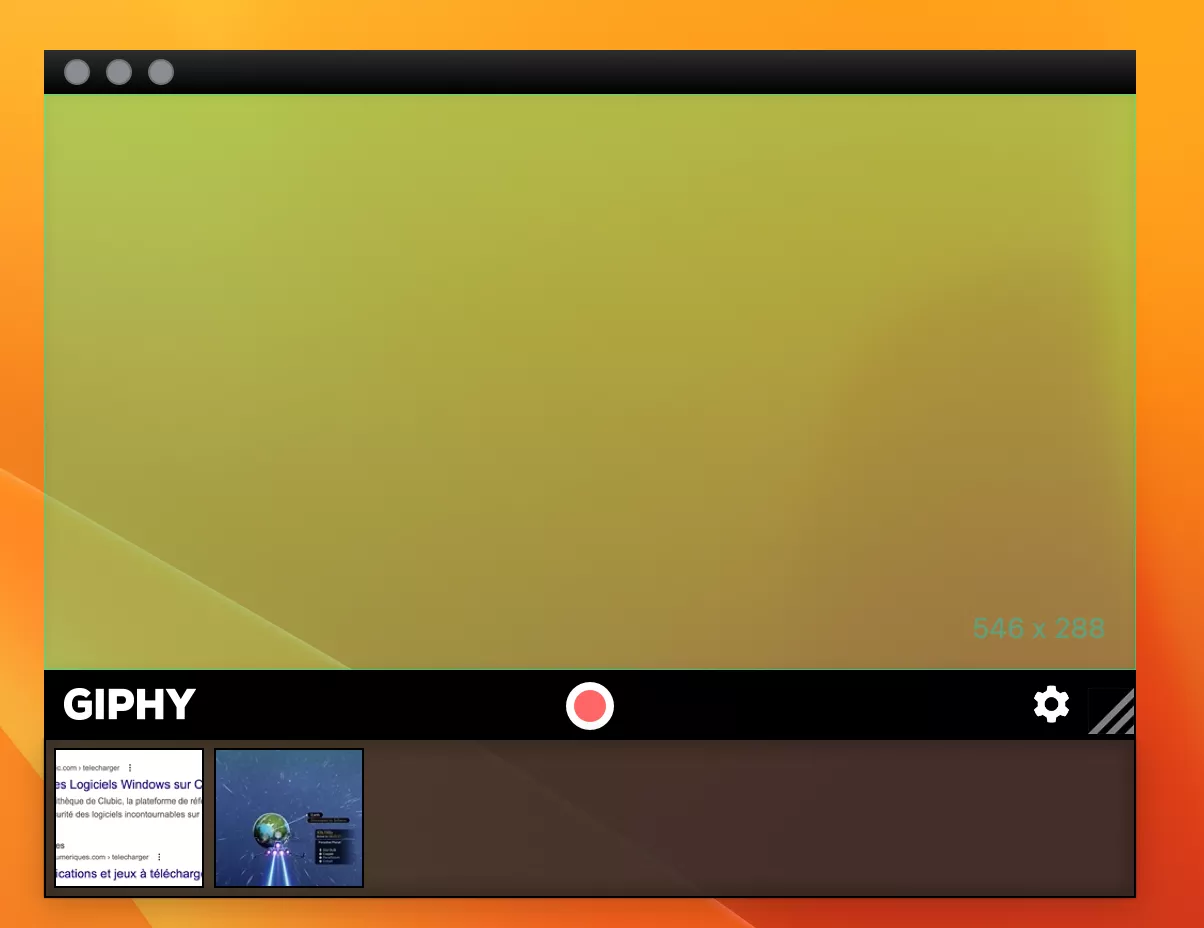
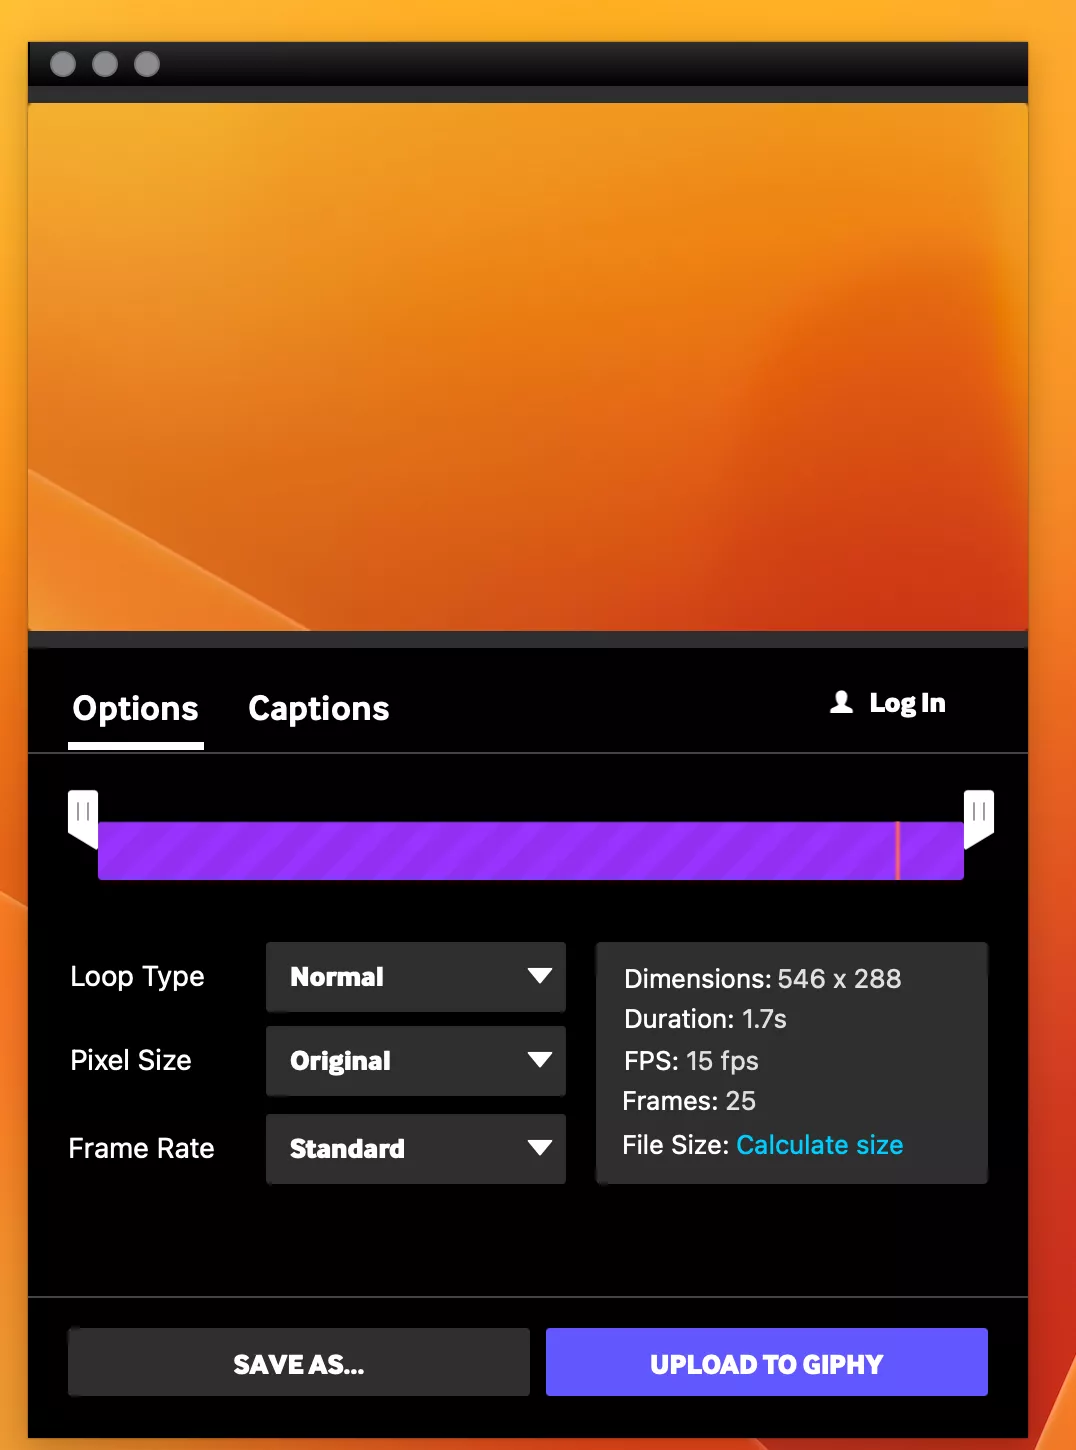
Launch the application, and once it's open, you'll see a floating capture window that you can move and resize to target the desired capture area. Then simply click on the "Record" button to start recording, and "Stop" when you're finished. Your recordings will be saved in the Giphy Capture library, where you can preview them, edit them (very) lightly and export them in GIF format.
You can also add text to your GIFs. Although the editing options are more limited than those of ScreenToGif on Windows, Giphy Capture is a quick and easy way to create animated GIFs.
Think image format
The WEBP format supports animations and offers better compression, enabling you to reduce file size without any significant loss of quality. To convert your GIFs to WebP, you can use an online tool such as EZGIF or a dedicated application such as ImageMagick (it's on the command line).
Converting to WebP format can be particularly useful for reducing the loading time of your animated images on the web and improving the user experience.
Conclusion
Whether you're running Windows or macOS, there are some pretty neat and easy-to-use tools for capturing your screen in GIF format. Pretty handy for your tutorials or social networking posts.
However, bear in mind that the GIF format is aging and can create large files. Consider converting your GIFs to WebP format for better compression.
Have a great week and see you next time?
